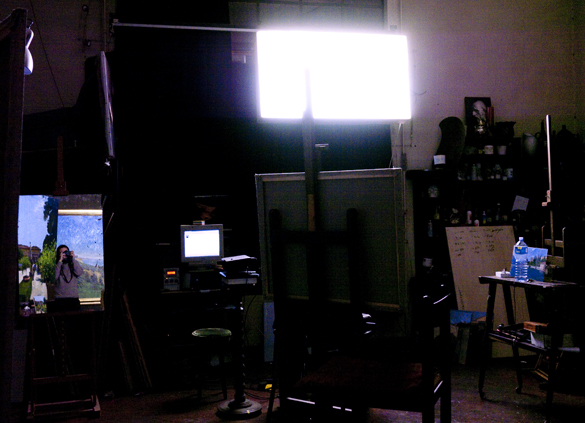
Our fake north-light window.
On the shortest day of the year, I thought it would be fitting to do a post about using an artificial (or electric, artificial sounds so pejorative) lighting setup for studio painting.
For many years I would only work under natural light, but I was losing so much painting time in the winters that I needed to do something. As I was used to painting with a north facing window, the solution for me was to create a fake north-lit window.
For our studio lighting setup, we built a light box with 3 florescent tubes of different temperatures (4500K, 5500K, and 6000K) and covered the studio side of the box with tracing paper to diffuse the light. At the moment though the light is too yellow, so I would like to switch out the 4500 and 5500K bulbs with 6500K ones. When the light is too yellow, it makes it harder to see yellows while you’re painting (and any color mixed with yellow, i.e. greens and oranges) so for the time being I try to avoid working on areas that require those colors under our light box. For more information on specific bulb brands check out Steve Kim’s great blog post on the subject.
Eventually I will also swap out the tracing paper for a Barrisol membrane to diffuse the light.
The box rolls on a track in front of our real window so we can move it over our natural light source in the evenings to keep working without any change in the shadow pattern. At the moment it is installed a bit too low, next time I have access to scaffolding we need to raise it a few feet.
Another trick I use to paint in the evenings is just to use the clip-on desk light attached to my easel so that my canvas, palette and reference sketches are lit with a blue daylight bulb, and then use a projector in the darkened studio to project a photograph to work from.
While working from artificial light is never ideal, this is the best studio lighting setup I’ve come across.
(Part one was a post on using natural light).


